Francoise - Blog WordPress Theme
© 2015 Highsea studio.
All rights reserved.
Blog Site Template
demoThank you for purchasing our product! If you have any questions or suggestions, please feel free to contact us via contact form on our portfolio page.
The theme has several templates that you may use for your needs. They are:
templ-home.php, templ-home-grid.php,
templ-home-list.php, templ-home-masonry.php, templ-home-slider.php, templ-home-slider-no-sidebar.phptempl-about.phptempl-contact.phpAnd some words about recommended sizes of the images. They are:
Because you can use any posts as slides in the slider, it is a good idea to keep featured images not smaller then 1170×570!
Settings for logo can be found on theme options page under "Logo settings" tab!
It has been said earlier that your logo will be automatically cropped and resized to 283x43 px for a desktop version and to 174x26 for a mobile version. Of course, sometimes it is not suitable at all. Let's imagine, that I want to use this logo:

And this is how it will look like on my website in the desktop version:
... and in the mobile version:
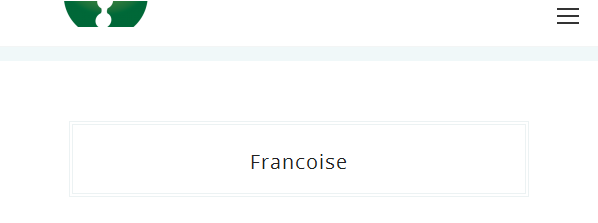
It looks nice in the desktop version, but it also looks weird in the mobile version, right?) That's why I have to add a desired logo width field on the theme options page (actually two fields are exist there - for both desktop and mobile versions!):
Look, it is much much better now:
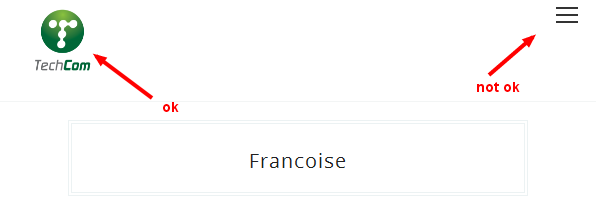
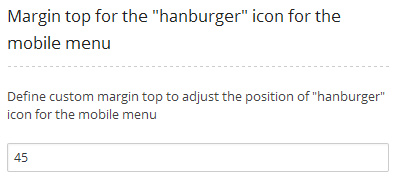
However, I have got another issue, now with my "hamburger" icon for the mobile menu. So, I will use another setting and after playing a while with it I found out that value '45' fits best my needs:
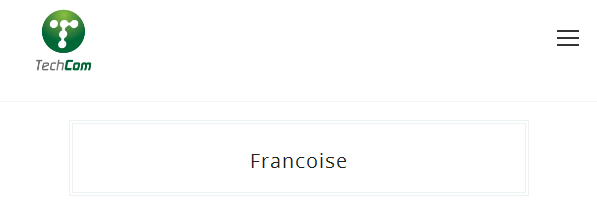
And this is how it finally looks like:
Important: you have to install and activate 'OTF Regenerate Thumbnails' plugin to use this feature! This plugin is free.
I would suggest you to upload at least twice bigger logo and define that width that you actually want to use. For instance, you want to use logo with width 350 px, then define here "350" but upload an image with width 700 px or larger. In this case, logo will be displayed with width 350 px every time, but you will also see nice unblurred image on retina display.
The theme has several templates for home page and/or blog page:
In order to use one of this templates as a home page, you have to create a new page (in admin area choose Paes -> Add new) and choose
one of these templates for this page (you will see a metabox on the right with dropdown titled 'Templates'). Publish this page. Now go to
Settings -> Reading and do these:
Save changes.
Template 'Home Page One' has a unique grid with 4 promo posts. Shown images are featured thumbnails for posts and three different image sizes are used here - 1170×570, 570x570 and 570x270. So it is a good idea to keep featured images not smaller then 1170×570. You can choose these four posts page metabox below main editor field.
Templates 'Home Page List', 'Home Page Slider' and 'Home Page Slider with no sidebar' have sliders at the top of the page. You can choose posts for these sliders in the metabox on edit page screen. If you don't choose any posts, placeholder image with title 'No slides found' will be shown at the place where should be the slider.
Important: if you have chosen less then 4 posts for home page grid manually on the theme options page - you won't see any of the chosen there but recent posts instead. It is required to choose 4 posts to view them all.
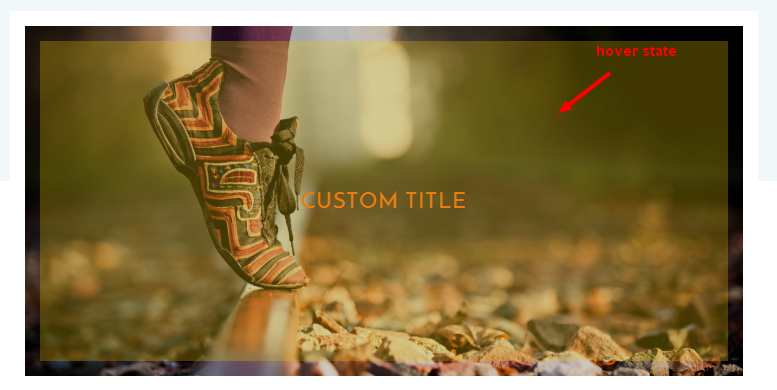
Additionally, for 'Home Page Slider with no sidebar', 'Home Page Slider', 'Home Page List', 'Home Page Grid' and 'Home Page Masonry' templates you are able to add custom content - image, title, URI and colour of the title, hover colour of the title and bg colour of overlay. Choose one of these templates for a page and you will see a meta box below the content editor. You have to choose/upload image, add title and URI, otherwise custom content won't be displayed! Also custom content will be shown ONLY if no posts have been selected on "Posts content" tab for 'Home Page Slider with no sidebar', 'Home Page Slider' and 'Home Page List'!
First of all create a page and choose template 'About Page'. Choose featured image and this image will be shown at the top of the page.
Also you can add you location. It is just a text.
Create a page and choose template 'Contact Page'. Also you can create gallery on this page simply by adding some images in the metabox on this page.
It is a lot of options for this page are on the theme options page. Read more about theme options here
In addition, in the metabox of this page there are another two options for your needs. You can show/hide a contact form and change title above the contact page.
You have to activate 'Advanced Social Status' plugin first (bundled with the theme)!
It looks like this:

You can create a special block with counters of your followers and/or shares/likes of your website in various social networks. To do that go to 'Advanced Social Status' configuration page under Settings -> Adv Social Status admin menu.

You have to fill in (1) and (2) fields. Please, note that fields (3) and (4) are not showing in the social counters block in the footer in any way! So, you don't need to fill them if you use this feature only in that block. Field (1) is required to fill in because the script has to know what object it should gather data for. Field (2) acts like a title got this counter.
We added a lot of widgets to the theme.
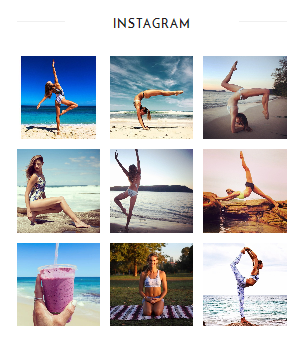
To use this widget you have to activate plugin 'WP Instagram Widget' (free on WordPress.org).

No additional plugins required. To use this widget you have to add Mailchimp API key and list ID on the theme options page.
To use this widget you have to activate plugin 'Uni User Avatar' (bundled with the theme). After plugin activation you will be able to upload custom avatar for your user on user's profile page. Also user's description is used in the widget.
To use this widget you have to activate plugin 'Recent Tweets Widget' (free on WordPress.org).
Enable/Disable displaying related posts on single. This is a global option and it works for the whole website
Include/Exclude posts in sliders from a main query. This is a global option and it works for the whole website. Default is "off" which means that posts will be excluded from the main query on the page where the slider is located. Such option prevents from content duplication. However, you may change this setting at any time.
Single post template/Archive templates style. Enables/disables sidebar on single post template and archive templates (categories, tags). It is a global option and it will be applied for ALL single/archive templates
Show/hide instagram section. You have to install and activate plugin "Instagram Feed" (free on wordpress.org) to use this functionality.
Add custom title for Instagram section. Default is "Follow on instagram".
Add custom URI for Instagram section. There is no default URI.
Show/hide "Social counters" section. You have to install and activate plugin "Advanced Social Status" (bundled with the theme) to use this functionality.
Text in the footer
Enable/Disable displaying only text instead of logo You might decide to display only text (blog name by default or your custom text) instead of graphic logo. Enable this option in orde to display only text.
Custom text as logo Add a custom text. Blog title will be shown by default.
Logo image for desktop. This image will be used for desktop version.
Width of a desktop version of the logo Define custom width that fits best your logo. Height of the logo will be changed proportionally.
Logo image for mobile version. This image will be used for mobile version of the website.
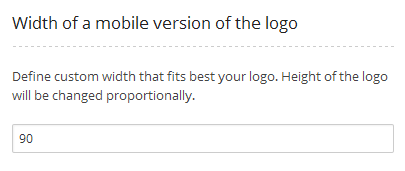
Width of a mobile version of the logo Define custom width that fits best your logo. Height of the logo will be changed proportionally.
Margin top for the "hamburger" icon for the mobile menu Define custom margin top to adjust the position of "hamburger" icon for the mobile menu
Colour schemes You can choose a desired colour scheme here. The default is the first one.
Enable/Disable displaying an image in the background of the header
Image for header It is possible to add an image in the background of the header. It is better to use wide enough but not very tall image, like 1920x700 px. The image will be placed in the centre of the header. Also, we advise to choose a logo that will match or colour of the text (instead of logo) that will look nice with this image!
Colour of text version of logo This option is used only when the header with an image in background and only for desktop version
Colour of text version of logo in hover state This option is used only when the header with an image in background and only for desktop version
Header background image overlay Change a colour and opacity for header background image overlay
You can choose custom fonts here. If you want to reset fonts to default, delete you custom fonts (click on red button for every font) and save settings. After page is loaded you will see that default theme's fonts are back.
Below you can see 4 dropdowns. Please, select 4 posts here, these posts will be shown on home page in unique grid below the slider. Otherwise, 4 recent posts will be shown. Attention: if you don't have at least 4 published posts, this section doesn't appear at all!
The theme has its own working contact form. However you can also activate Contact Form 7 plugin and use forms provided by this plugin. In this case you just need to add the ID of the CF7 form.
The theme is integrated with Mailchimp. You just need to provide Mailchimp API key and List ID.
Facebook application ID. In order to use the built-in FB share link you must create an application on https://developers.facebook.com/ and add its ID here.
Enable/disable Facebook share link
Enable/disable Twitter Tweet link
Enable/disable Google+ share link
Enable/disable Pinterest share link
Here you can add links to your social profiles on the website.
You should expect to see this notice after the theme is activated.

There is some required and some recommended plugins. All the required plugins are bundled with the theme and only required plugins affect the basic functionality of the theme. Recommended plugins just add some additional functionality, they are not neccessary and some of them are not bundled with the theme. You can buy them or download for free (it depends on the particular plugin). 'Recommended' means that we tested how they work with the theme just to be sure that everything will be ok and we think that they can be useful in some particular situations.
The list of required plugins:
Some of the required plugins are paid and bundled with the theme, like 'Uni User Avatar', so you can use them with ease.
The list of recommended plugins:
This is the video tutorial which shows how to import Asana WP theme demo content and make some basic configurations:
And this is the text version:
Appearance -> Themes and activate Francoise themeTools -> Import and install WordPress Importer pluginAppearance -> Themes and activate Francoise child themeAppearance -> Customize and make final adjustements shown in the video.